If you are on the hunt for easy Christmas Crafts for kids, look no further than this homemade Poinsettia Wreath!
Easy Christmas Crafts for Kids – Homemade Poinsettia Wreath
In our house, as soon as that cold weather hits, we are suddenly on the hunt for Christmas crafts to make at home. Don’t get me wrong…we’ve had some epic outcomes (like this wreath craft here) and some horrible Pinterest failures. (Let’s never speak again of our Christmas Elmo cupcakes that totally flopped.)
After over 8 years of crafting with our girls, there are a few things that I now look for in a quality craft. First, it needs to be clear and easy to do. Second, it can’t have a bunch of crazy supplies that I’ll never remember to buy from the store…and third, it needs to be usable somewhere in our home as part of our holiday decor. If the craft hits the mark, I’m 100% game.
This is why I love this homemade Poinsettia Wreath. Not only does it LOOK like it took a really long time, but it’s also actually pretty enough to hang proudly as well! If you are wanting to get a jumpstart on your Christmas crafting with the kiddos, this simple Christmas craft is the perfect way to start!
SUPPLIES NEEDED TO MAKE THIS CHRISTMAS WREATH
- Cardstock paper – red, green, yellow
- Glitter powder – golden and green
- Pencil or pen – for tracing the template
- Scissors
- Craft glue
- Wreath base
- Burlap fabric
Print off your FREE LEAF TEMPLATE and FREE PETAL TEMPLATES below
HOW TO MAKE THIS BEAUTIFUL BURLAP WREATH
Step 1:
Select cardstock paper for the flower and trace the petals on the paper. Cut out the petals along the traced lines. The template includes 4 sets of petals, in each set there are 3 petals.

Step 2:
Trace the other items on the selected cardstock papers and cut them out nicely.

Step 3:
Select the 2 items (leaving the leaves and the centerpiece) and apply craft glitter on them. If you are using powder glitter follow this process- Place the item on a piece of paper; apply white glue all over the item and then sprinkle powder glitter all over the glue. Once the glue dries brush off extra glitter and then remove the item from the paper.

Step 4:
Create simple creases on the leaves.

Step 5:
Take a petal and cut a 2 cm slit on the middle of the bottom side.

Step 6:
Overlap the 2 sides of the slit and glue them.

Step 7:
Cut out a round piece of cardstock for the base of the flower.
Step 8:
One by one glue the large petals around the outer edge of the base.

Step 9:
Now take the medium-large petals and glue them inside the layer of the large petals.

Step 10:
Glue the medium petals next and then glue the small petals on the center.

Step 11:
Glue the centerpiece on the center of the petals and the leaves around the flower; under the layer of the large petals. Make sure that the leaves are visible.

Step 12:
Keep adding the other items around the outer edge of the base and making sure that they are visible under the outer petals.

Step 13:
Take the base for the wreath and wrap it with a burlap fabric.

Step 14:
Cover the whole base with the burlap fabric.
Step 15:
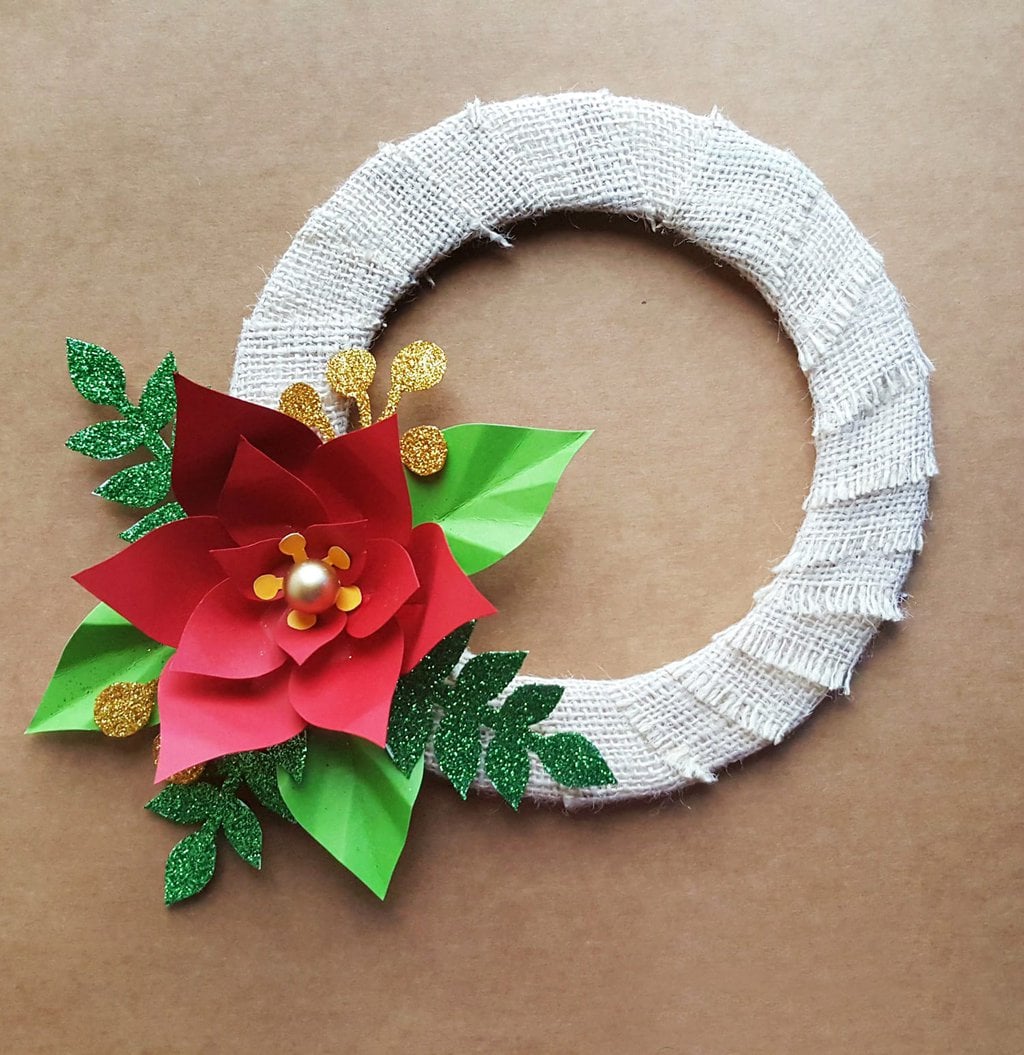
Simply glue the poinsettia flower on the wreath and attach a hanging mechanism at the back to complete the wreath.

And just like that, you and your little one have created a beautiful Christmas craft that is worthy of being hung proudly in your home! If you have family and friends nearby, it’s always fun to make a couple extra’s as well and hand them out as gifts.
Everyone loves receiving a homemade holiday craft to really start the season of holiday cheer!

Leave a Reply