You’ll love the ease of these delicious Easter Egg Recipes! Who doesn’t love a bit of chocolate filled with holiday cheer? Coconut Cream Easter Eggs are delicious and so simple to do! You’ll love this recipe for homemade coconut cream eggs!
I seriously can’t get enough of these homemade Easter Eggs…There may have been a couple rounds of this Easter Egg recipe made a few times already…just to get it perfect, right? It’s one of my favorite cococut cream egg recipes, and for good reason.
Who can deny the amazing combination of coconut and chocolate? NO ONE! I honestly think that Easter candy is some of the best candy out there…which is why I look forward to making these delicious Easter Egg recipes each and every year.
And which these super simple chocolate Easter egg molds, you can rest easy knowing that you can make adorable (and edible) Easter Eggs as well!

Coconut Cream Eggs – old fashioned coconut easter eggs
If at all possible, I like to make our treats at home, homemade. Not only does this allow me to know what’s in them, but I have two very eager girls who are always wanting and willing to help out, too.
How hard is it to make homemade Easter eggs?
Honestly, it’s not that hard at all. With just a few simple ingredients and a little bit of patience, you’ll find that these Easter Egg recipes are quite simple to do.
Are coconut cream eggs easier to make than buttercream Easter eggs?
While I’m not an expert, I find that the coconut cream eggs are easier for me and my cooking ability. I always tend to have shredded coconut on hand, which makes for a simple recipe in my mind. If you do choose to make buttercream Easter eggs, find a recipe that you can easily follow along with.
Can you make this recipe for white chocolate eggs rather than using milk chocolate?
Go for it! If you like white chocolate instead, switch up the recipe to whatever works for you and your taste buds. I’m a firm believer in altering a recipe that whatever your own family will love.
How to make these old fashioned coconut cream easter eggs
To make this delicious dark chocolate coconut cream eggs, you’ll need the following ingredients:
Ingredients to make homemade coconut eggs
- 4 bags Wilton Candy Melts – Dark Cocoa
- 1 bag Wilton Candy Melts in pink
- 1 bag Wilton Candy Melts in blue
- ½ cup butter
- 1 bag Wilton Candy Melts in green
- 1 teaspoon vanilla extract
- 2/3 cup sweetened condensed milk
- 6 cups confectioners sugar
- ¾ cup coconut
- Silicone shaped egg mold
- Food grade paint brushes
How to make this coconut cream eggs recipe
Place the butter, vanilla, salt and ½ cup of the confectioners’ sugar in a large bowl. Turn the mixer on to a medium setting and cream the ingredients.
Alternate the milk and the rest of the confectioners’ sugar and beat after each addition. Continue beating the mixture until it is smooth.

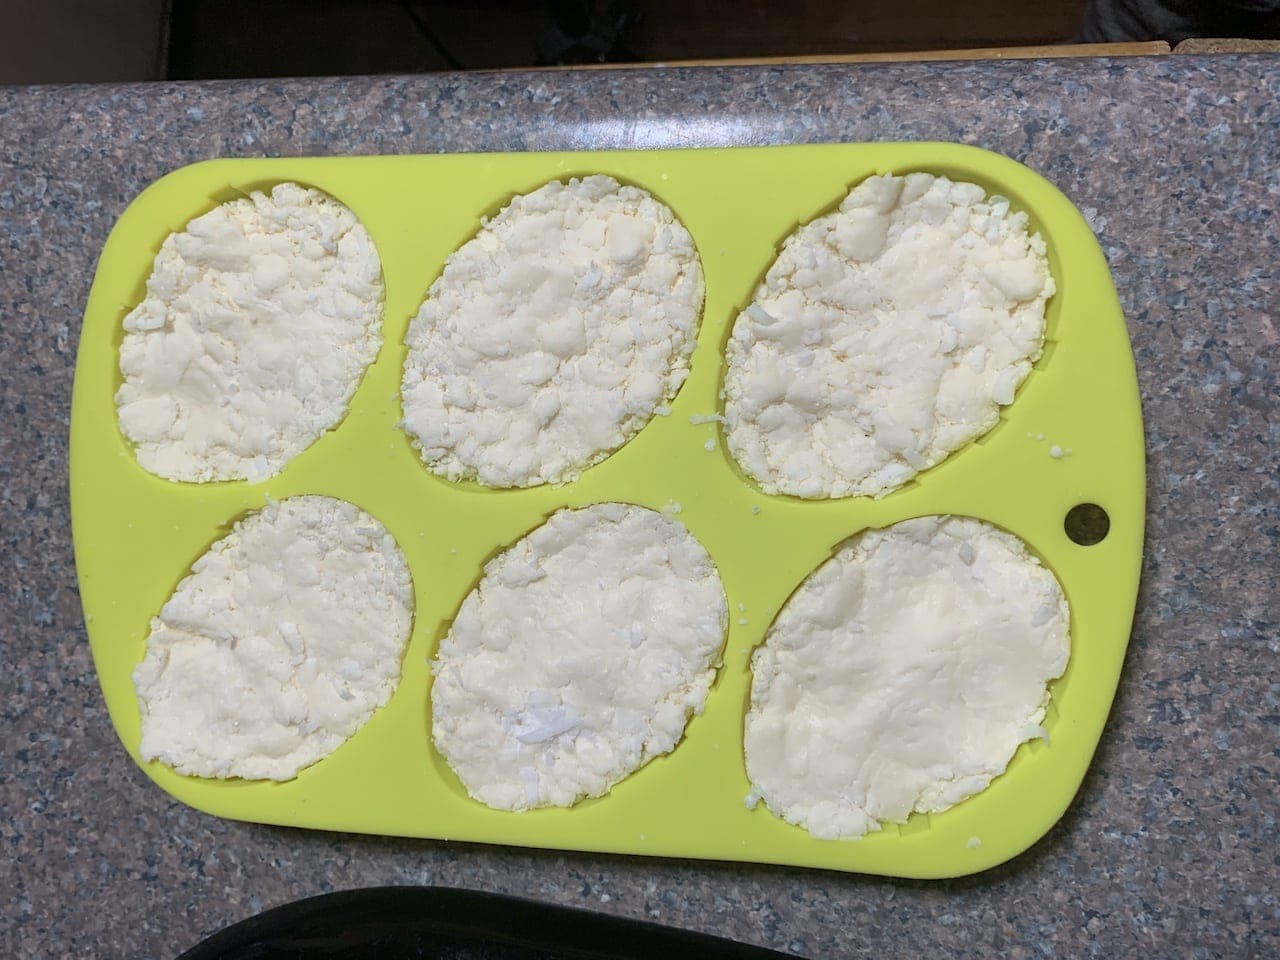
Add the coconut to the mix and blend it in. Press the mixture into the silicone shaped egg mold. If you do not have a mold, you can shape the eggs by hand. It’s easier to make the mixture into egg shapes with a mold!
More recipes to consider:
- Pikachu Oreos – Oreo Cookies Recipe Perfect for Pokemon Lovers
- Red Velvet Milkshake – Homemade Dessert Your Kids Will Love
- 34 Delicious Recipes Featuring Foods That Bring Good Luck
Place the shaped eggs on a wax paper covered cookie sheet and refrigerate overnight.
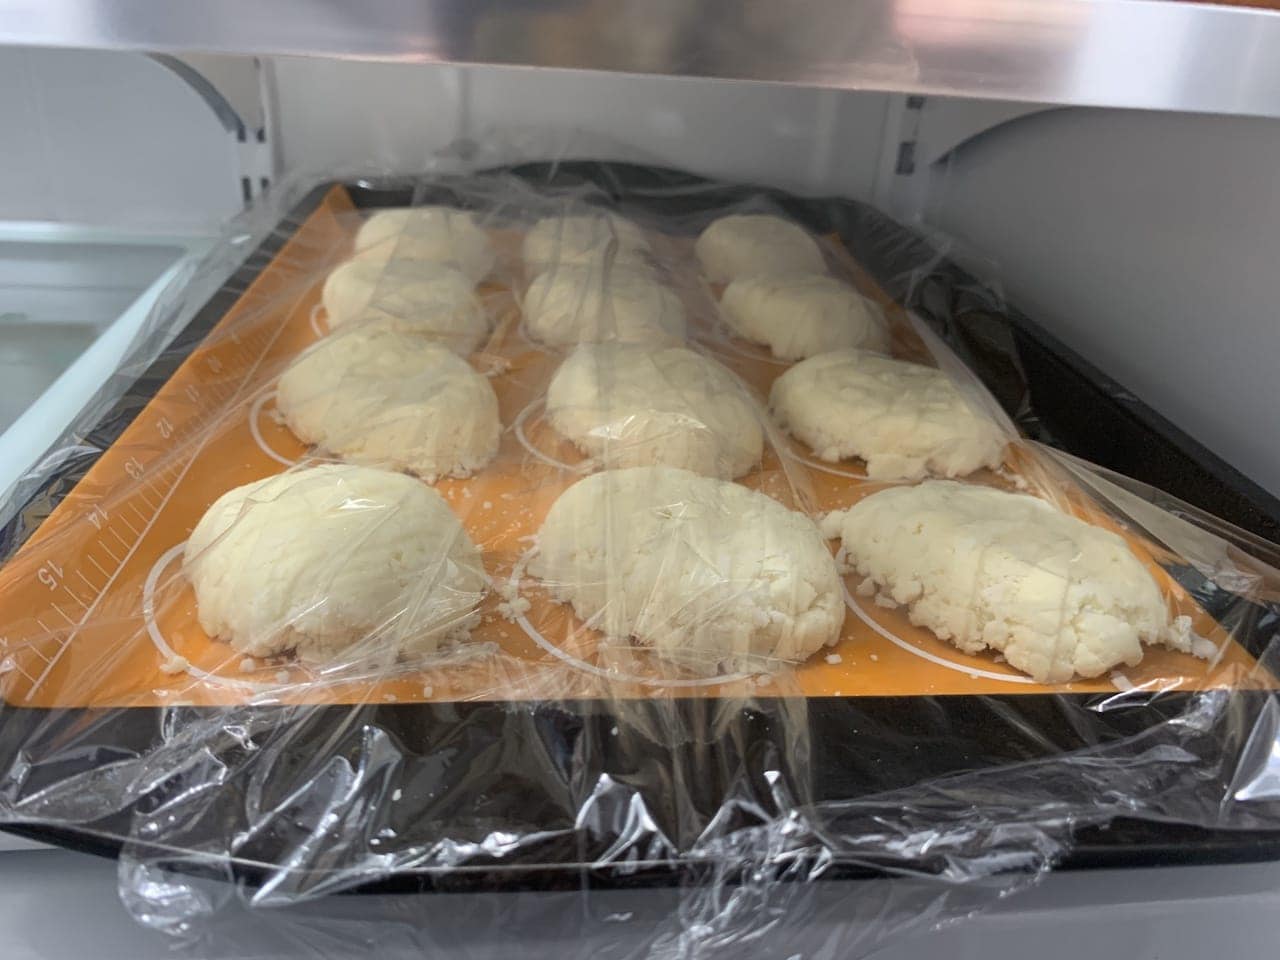
The next day, separate the pink, blue and green candy melts into separate dishes.
Microwave one color of candy melts according to the package directions until they are melted. Do not melt them all at once.
Pick up the silicone mold and carefully paint the outlines with one color of candy melts. The paint needs to be fairly thick or it will potentially crack before you are ready to finish the chocolate egg covering.
Repeat step 9 with the next color of candy melts.
Now repeat step 10.
Repeat steps 9 and 10 with the last color of candy melts.

Don’t forget these steps to finish out your easter egg recipes!
Now place the mold on a cookie sheet and refrigerate the mold for five minutes.
Before you remove the mold from the refrigerator, go ahead and melt the dark cocoa candy melts.
Now remove the mold from the refrigerator and place a spoonful of the melted dark cocoa candy melts in the bottom of one of the eggs.
Use the paintbrush to spread the candy melts all over the bottom and sides of the eggs making sure to cover the colored chocolate as well.

Now place the mold back on the cookie sheet and refrigerate for 20 minutes. When the timer goes off, remove the mold from the refrigerator and place a second wax paper or silicone mat covered cookie set on top of the mold.
Now flip the mold over making sure the cookie sheet remains on top of the mold.
Gently lift the edges of the silicone mold back to the chocolate egg shell is released without breaking.
Look each egg over and if you see any bare spots, melt the dark cocoa again and touch the egg up using the paint brush.
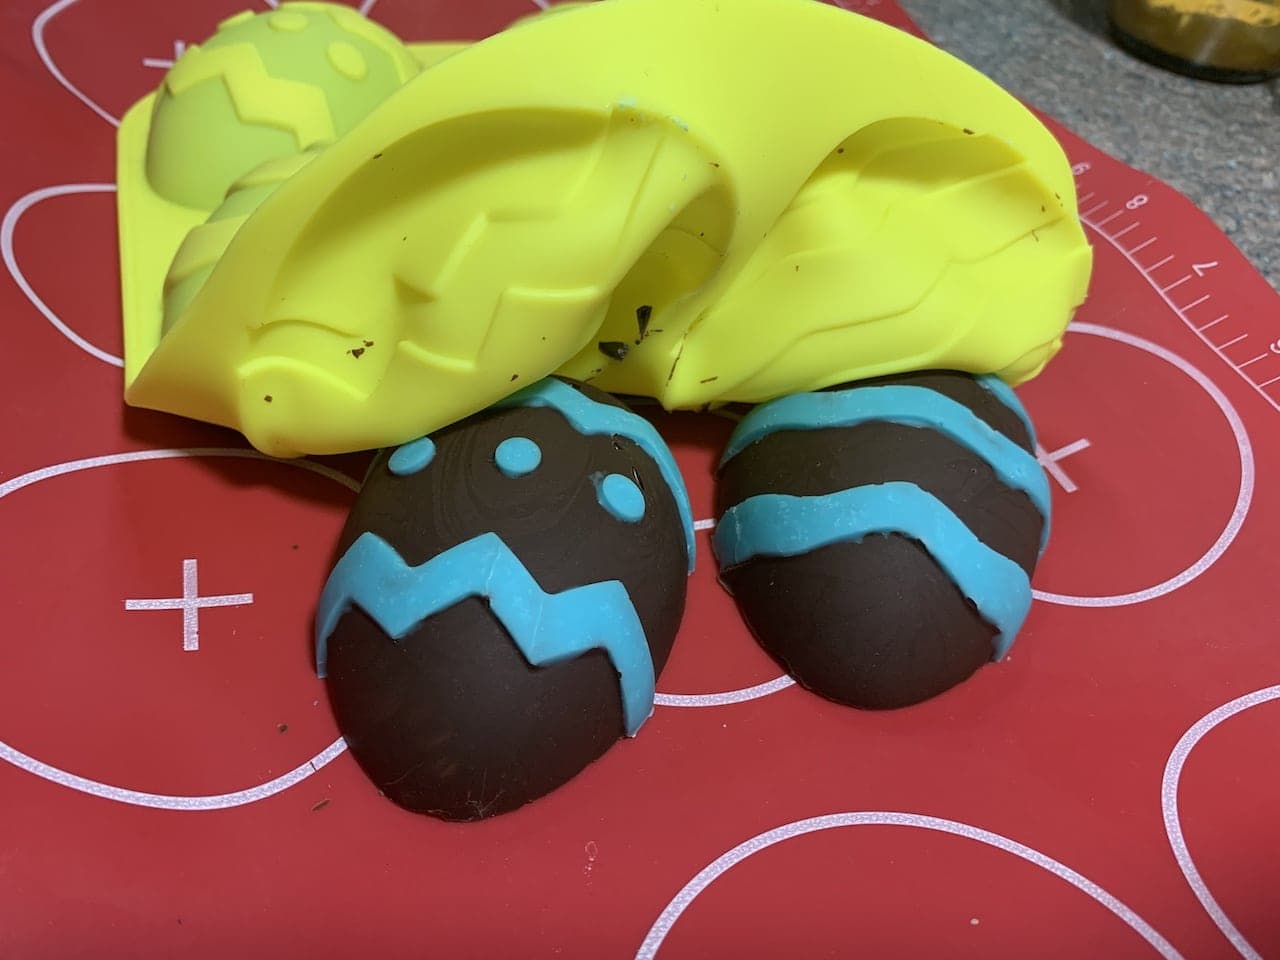
Now turn the eggs so the empty side is facing upward. Remove the coconut cream eggs from the refrigerator.
Crumble one coconut cream egg at a time and fill the chocolate covered eggshell with the crumbly mixture. Press it down lightly.
Once all the chocolate covered egg shells are filled, press the filling down one last time to make sure it is snug in the eggshell.
Other Easter Egg Recipes That You’ll Love:
Now melt more of the dark cocoa candy melts in the microwave.
Spoon some of the dark cocoa candy melts on the top of the coconut filling and use the spoon or an icing spatula to smooth the candy melts out. You might need more than one spoonful to completely cover the backs.
Repeat steps until all the backs of the eggs are covered with chocolate.
Place the eggs in the refrigerator for 20 minutes to allow the chocolate to fully harden.
Remove the eggs one last time to look at them to make sure there are not any areas that are not covered in chocolate. If there are, use the paintbrush and some freshly melted candy melts to touch those areas up. (To create the texture on the colored parts of the eggs, paint over them freehand using the appropriate colored chocolate melts.)
Now refrigerate the eggs for another 20 minutes.
Once you are done with the first set of eggs, you can either repeat these steps and continue to make more decorated chocolate covered eggs or you can follow the steps above and decorate them however you would like!
Common Questions:
What if my chocolate mixture is too thick?
You can always add a few tablespoons coconut oil (or less) to thin up the chocolate but just be careful that you don’t add in too much!
What toppings could a coconut fan add to these candy eggs?
So, if you’re a HUGE coconut fan, you can easily add leftover candies to the top like broken up candy bars. Personally, I think that candy lovers will already think that these homemade candy eggs are sweet as they are, but do what you want to do!
One delicious ingredient that I think would be fun to add on top would be shredded coconut or coconut flakes. I also think a handful of semi sweet chocolate chips is never a bad idea either.
How do you keep the eggs from sticking to the molds?
This is where using coconut egg silicone mold really works! It’s flexible and bendy and perfect for getting the egg candy recipe to easily come right out.
Do you need an egg cookie cutter?
You don’t. You can easily scoop out the coconut mixture with a cookie scoop and just shape it with your hands into an egg. An egg shape cookie cutter will make the process faster but it’s not necessary at all.
Can you freeze this delicious treat?
You bet! You can freeze the eggs and even eat the eggs from freezer, too! This homemade coconut cream egg recipe is an easy way to prep and make frozen coconut egg gifts for family and friends, too! And once they thaw, you’ll have that creamy coconut texture in every single bite.
Coconut Cream Eggs - Delicious Easter Egg Recipes
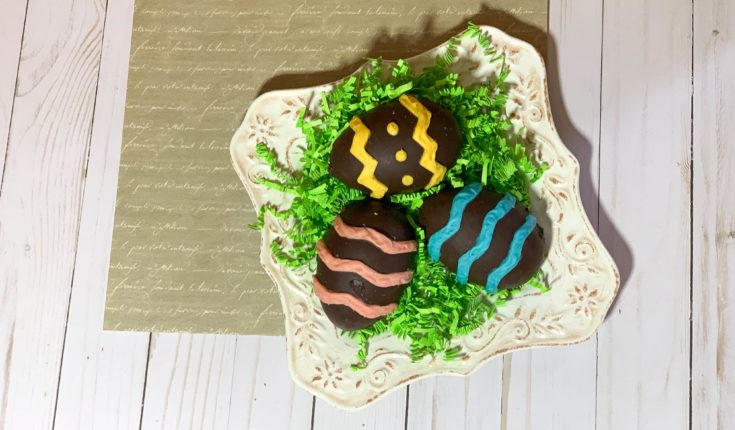
You'll love the ease of these delicious Easter Egg Recipes! Who doesn't love a bit of chocolate filled with holiday cheer?
Ingredients
- 4 bags Wilton Candy Melts – Dark Cocoa
- 1 bag Wilton Candy Melts in pink
- 1 bag Wilton Candy Melts in blue
- 1 bag Wilton Candy Melts in green
- ½ cup butter
- 1 teaspoon vanilla extract
- 2/3 cup sweetened condensed milk
- 6 cups confectioners sugar
- ¾ cup coconut
- Silicone shaped egg mold
- Food grade paint brushes
Instructions
- Place the butter, vanilla, salt and ½ cup of the confectioners’ sugar in a large bowl.
- Turn the mixer on to a medium setting and cream the ingredients.
- Alternate the milk and the rest of the confectioners’ sugar and beat after each addition.
- Continue beating the mixture until it is smooth.
- Add the coconut to the mix and blend it in.
- Press the mixture into the silicone shaped egg mold. If you do not have a mold, you can shape the eggs by hand.
- Place the shaped eggs on a wax paper covered cookie sheet and refrigerate overnight.
- The next day, separate the pink, blue and green candy melts into separate dishes.
- Microwave one color of candy melts according to the package directions until they are melted. Do not melt them all at once.
- Pick up the silicone mold and carefully paint the outlines with one color of candy melts. The paint needs to be fairly thick or it will potentially crack before you are ready to finish the chocolate egg covering.
- Repeat step 9 with the next color of candy melts.
- Now repeat step 10.
- Repeat steps 9 and 10 with the last color of candy melts.
- Now place the mold on a cookie sheet and refrigerate the mold for five minutes.
- Before you remove the mold from the refrigerator, go ahead and melt the dark cocoa candy melts.
- Now remove the mold from the refrigerator and place a spoonful of the melted dark cocoa candy melts in the bottom of one of the eggs.
- Use the paintbrush to spread the candy melts all over the bottom and sides of the eggs making sure to cover the colored chocolate as well.
- Now place the mold back on the cookie sheet and refrigerate for 20 minutes.
- When the timer goes off, remove the mold from the refrigerator and place a second wax paper or silicone mat covered cookie set on top of the mold.
- Now flip the mold over making sure the cookie sheet remains on top of the mold.
- Gently lift the edges of the silicone mold back to the chocolate egg shell is released without breaking.
- Look each egg over and if you see any bare spots, melt the dark cocoa again and touch the egg up using the paint brush.
- Now turn the eggs so the empty side is facing upward.
- Remove the coconut cream eggs from the refrigerator.
- Crumble one coconut cream egg at a time and fill the chocolate covered egg shell with the crumbly mixture. Press it down lightly.
- Once all the chocolate covered egg shells are filled, press the filling down one last time to make sure it is snug in the egg shell.
- Now melt more of the dark cocoa candy melts in the microwave.
- Spoon some of the dark cocoa candy melts on the top of the coconut filling and use the spoon or an icing spatula to smooth the candy melts out. You might need more than one spoonful to completely cover the backs.
- Repeat step 28 until all the backs of the eggs are covered with chocolate.
- Place the eggs in the refrigerator for 20 minutes to allow the chocolate to fully harden.
- Remove the eggs one last time to look at them to make sure there are not any areas that are not covered in chocolate. If there are, use the paint brush and some freshly melted candy melts to touch those areas up.
- To create the texture on the colored parts of the eggs, paint over them freehand using the appropriate colored chocolate melts.
- Now refrigerate the eggs for another 20 minutes.
- Once you are done with the first set of eggs, you can either repeat these steps and continue to make more decorated chocolate covered eggs or you can follow the steps below to cover the remaining coconut eggs with chocolate.
- Spoon some chocolate on top of the coconut cream egg.
- Spread it around with a spoon so it falls over the edges of the coconut cream egg.
- Once the first egg is completely covered minus the bottom, move on to the next egg.
- Once all the eggs are covered on top and on the sides with chocolate, place the cookie sheet back in the refrigerator for 20 minutes.
- When the timer goes off, remove the eggs from the refrigerator and turn them upside down on the cookie sheet so the coconut bottoms are facing up.
- Spoon some of the dark cocoa candy melts on the top of the coconut filling and use the spoon or an icing spatula to smooth the candy melts out. You might need more than one spoonful to completely cover the backs.
- Place the eggs back in the refrigerator for 20 more minutes to allow the chocolate to harden.
- Inspect the eggs to see if there are any areas on them you need to touch up with some freshly melted candy melts. If there is, use the paint brush to do that.
- You can now eat them or decorate them, whatever you choose.
Do you have any Easter Egg recipes to share?

Leave a Reply