Did you know that nearly 70% of first-time campers struggle with setting up their tents? Don’t let that happen to you!
Camping is all about embracing the outdoors, and nothing says “I’m ready for adventure” like a well-pitched tent. Whether you’re a first-timer or a seasoned camper, setting up a tent can be a breeze with the right know-how.
Below, I’ve packed in a ton of actionable tips to make the process smooth, stress-free, and maybe even a little fun. Let’s dive in!

Step 1: Prep Before You Go
A little preparation goes a long way to ensure your tent setup is hassle-free. Here’s how to get ready before you even leave home.
- Read the Manual: Every tent is different. Pop open the manual (or find it online) and skim through the setup instructions. Familiarize yourself with the parts—poles, stakes, rainfly, etc.
- Practice at Home: Set up your tent in your backyard or living room. This dry run helps you spot missing pieces and get comfy with the process. Time yourself to see how fast you can do it!
- Check Your Gear: Inspect your tent for tears, broken zippers, or missing stakes. Pack extras like spare stakes, guylines, and a repair kit for emergencies.
- Pack Smart: Keep all tent parts in one bag for easy access. Use a checklist to ensure you’ve got everything: tent body, rainfly, poles, stakes, footprint, and a mallet.
- Waterproofing Check: Spray your tent with a garden hose to test its waterproofing. If it leaks, apply a seam sealer or refresh the waterproof coating before your trip.
- Know Your Tent Type: Dome, tunnel, or cabin tents have different setups. Knowing your tent’s design (e.g., freestanding or not) helps you anticipate challenges.
Check PriceCheck PriceCheck PriceCheck PriceCheck PriceCheck Price
Step 2: Pick the Perfect Spot
Choosing the right campsite sets the stage for a sturdy, comfortable tent. Here’s what to look for.
- Flat Ground: Find a level spot to avoid rolling downhill in your sleep. Clear away rocks, sticks, or pinecones that could poke through the tent floor.
- Avoid Low Areas: Stay away from dips or valleys where water might pool if it rains. Look for slightly elevated ground for better drainage.
- Check for Hazards: Look up for dead branches (aka “widowmakers”) and avoid setting up under them. Also, steer clear of ant hills or animal burrows.
- Wind Protection: Position your tent door away from the prevailing wind. Use natural windbreaks like trees or bushes if possible.
- Shade and Sun: If you’re camping in hot weather, pick a spot with morning shade. In cooler climates, a spot with some sun exposure keeps things cozy.
- Leave No Trace: Stick to established campsites to minimize environmental impact. Avoid trampling delicate plants or setting up too close to water sources.
Step 3: Lay the Foundation
A solid base protects your tent and keeps you comfy. Here’s how to set it up right.
- Use a Footprint: Lay down a groundsheet or tarp slightly smaller than your tent’s base to protect the floor from abrasion and moisture. If it’s too big, fold the edges under to avoid collecting rainwater.
- Smooth the Surface: Double-check for sharp objects under the footprint. A small twig can feel like a boulder at 2 a.m.
- Orient the Tent: Decide which way the door should face for easy access and ventilation. Align it with the view or away from wind for comfort.
- Secure the Footprint: If it’s windy, weigh down the footprint with rocks or stakes temporarily to keep it in place while you set up.
Check PriceCheck PriceCheck PriceCheck PriceCheck PriceCheck PriceCheck PriceCheck Price
Step 4: Assemble the Tent
Now it’s time to set up that tent up! Follow these steps for a smooth setup.
- Lay Out the Tent Body: Spread the tent flat over the footprint, ensuring it’s oriented correctly. Find the door and make sure it’s where you want it.
- Insert the Poles: Assemble the poles (most snap together) and slide them through the sleeves or attach them to clips, depending on your tent’s design. Work systematically from one side to the other.
- Raise the Tent: For dome tents, insert pole ends into grommets or loops at the corners. For tunnel tents, follow the sequence in the manual to avoid twisting. Gently lift the tent as the poles create the frame.
- Stake It Down: Secure the corners with stakes, driving them at a 45-degree angle for maximum hold. Pull the tent taut but not overly tight to avoid stressing the fabric.
- Attach Guylines: If your tent has guylines, stake them out to add stability, especially in windy conditions. Adjust the tension to keep the tent shape intact.
- Double-Check Connections: Ensure all poles are fully inserted and clips or sleeves are secure. A loose connection can collapse your tent in a storm.
Check PriceCheck PriceCheck PriceCheck Price
Step 5: Add the Rainfly
The rainfly is your tent’s umbrella, keeping you dry and protected. Here’s how to get it right.
- Align the Rainfly: Drape the rainfly over the tent, matching the door and vestibule areas. Most rainflies have markings or buckles to help with alignment.
- Secure It Properly: Clip or tie the rainfly to the tent body and stake out any additional points. Make sure it’s taut to prevent flapping in the wind.
- Ventilation Matters: If your rainfly has vents, open them to reduce condensation inside the tent. Some rainflies can be partially rolled back for better airflow on clear nights.
- Create Vestibule Space: If your tent has a vestibule (an area under the rainfly for gear), stake it out to maximize space for storing boots or packs.
Step 6: Final Touches and Comfort Tips
With the tent up, add these finishing touches to make your campsite homey and functional.
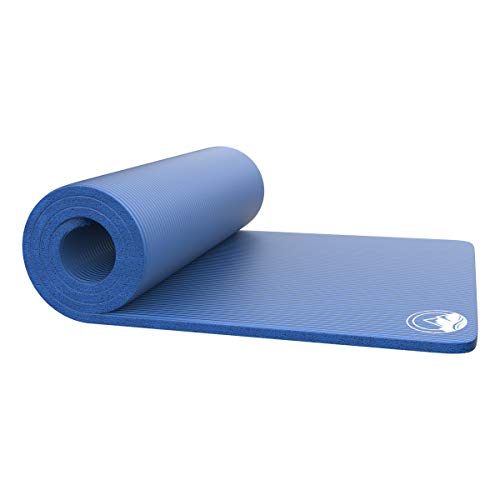
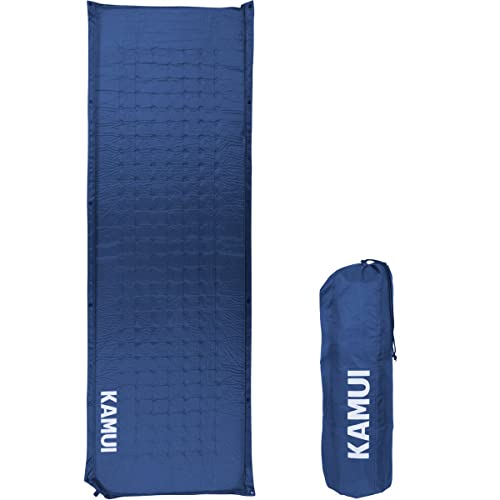
- Organize the Interior: Lay down a sleeping pad or air mattress for comfort. Arrange sleeping bags and gear to keep things tidy.
- Test the Zippers: Open and close all zippers to ensure they work smoothly. Lubricate sticky zippers with a zipper-specific product or a candle stub.
- Add Lighting: Hang a lightweight lantern or string fairy lights inside for nighttime visibility. Avoid candles or open flames to prevent fire hazards.
- Create a Door Mat: Place a small tarp or mat outside the door to wipe off shoes and keep dirt out of the tent.
- Ventilation Hacks: Crack open a window or vent (if your tent has them) to improve airflow and reduce morning condensation.
- Store Gear Smartly: Keep food and scented items outside the tent in a bear bag or cooler to avoid attracting wildlife.



Step 7: Troubleshooting and Pro Tips
Even the best plans can hit a snag. Here are some common issues and how to handle them.
- Uneven Ground: If the site isn’t perfectly flat, position your head uphill when sleeping to avoid discomfort.
- Windy Conditions: Double-stake guylines or use heavier rocks to secure the tent in strong winds. Lower the tent profile by not fully extending poles if possible.
- Missing Stakes: Use rocks, logs, or even filled water bottles as makeshift stakes in a pinch.
- Condensation Issues: Improve ventilation by opening vents or partially unzipping the door. Avoid cooking inside the tent, as it adds moisture.
- Pole Problems: If a pole breaks, use a repair sleeve (included in many repair kits) or wrap it with duct tape for a temporary fix.
- Speed Setup: Practice folding poles and packing the tent efficiently to cut down setup and takedown time on future trips.
Step 8: Taking It Down
Packing up is just as important as setting up. Here’s how to do it right.
- Dry It Out: If the tent is wet, shake off excess water and let it air out before packing to prevent mold. If you can’t dry it on-site, do it at home ASAP.
- Remove Stakes Carefully: Pull stakes straight out to avoid bending them. Clean off dirt before storing.
- Fold, Don’t Stuff: Fold the tent neatly to fit it back into its bag without straining zippers or fabric. Roll it tightly to save space.
- Organize Poles and Stakes: Store poles and stakes separately to avoid puncturing the tent fabric.
- Check for Leftovers: Do a final sweep to ensure you haven’t left any gear or trash behind.
Bonus Tips for Next-Level Camping
- Bring a Mallet: A small mallet or hammer makes staking easier, especially in hard ground. A rock works in a pinch, but be gentle to avoid damaging stakes.
- Mark Your Tent: Add reflective tape or bright guylines to make your tent easy to spot at night.
- Teamwork Makes the Dream Work: If camping with others, assign roles (e.g., one person stakes, another handles poles) to speed things up.
- Weather Prep: Check the forecast and pack extra tarps or guylines if storms are expected.
- Campsite Etiquette: Keep noise down and respect neighbors’ space, especially in crowded campgrounds.
Setting up a tent doesn’t have to be a chore. With these tips, you’ll be pitching like a pro in no time, leaving you more energy to enjoy the campfire, stars, or that perfect hiking trail. Happy camping!
Leave a Reply